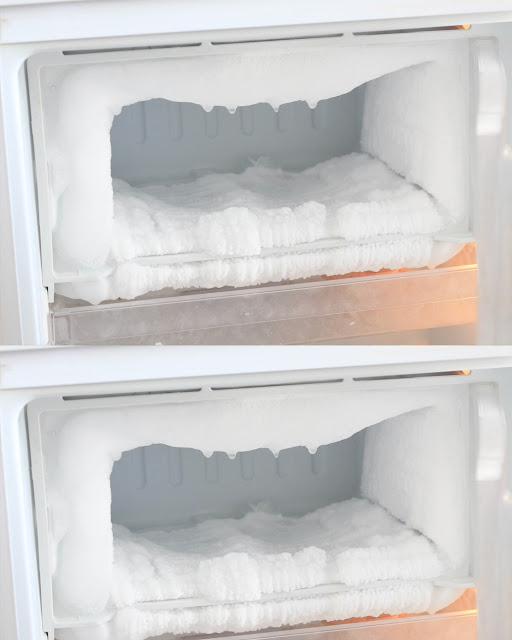
At some point in our culinary journeys, we all encounter it: the stubborn frost stubbornly clinging to the insides of our refrigerators. Not only is it an unsightly inconvenience, but an overly icy fridge also operates less efficiently, consuming more energy and reducing the lifespan of your appliance. But fear not, for the rapid and easy defrosting guide is here! Let’s melt away those icy troubles in no time.
Step 1: Unplug and Empty
Begin by unplugging the fridge to prevent any electrical mishaps. Empty all contents, ensuring perishables are placed in a cooler to maintain their chill. Don’t forget to remove shelves and bins for a thorough defrost.
Step 1: Unplug and Empty
Begin by unplugging the fridge to prevent any electrical mishaps. Empty all contents, ensuring perishables are placed in a cooler to maintain their chill. Don’t forget to remove shelves and bins for a thorough defrost.
Step 2: Prep Your Space
Place towels around the base of the fridge to soak up any escaping water and prevent a mini flood in your kitchen. You may also insert a shallow tray to collect meltwater.
Step 3: Let the Thaw Begin
Open the fridge and freezer doors, allowing room temperature to initiate the melting. For a speedier process, place a pot of hot water inside, remembering to replace it periodically as it cools.
Step 4: Scrape with Care
If thick ice persists, gently use a plastic scraper or spatula (never metal!) to encourage it to detach. Exercise patience and caution to avoid damaging your fridge.
Step 5: Deep Cle an
While the interior is bare and accessible, seize the opportunity to give it a thorough clean. Wipe down all surfaces, paying extra attention to corners and hidden spots where grime could accumulate.
Step 6: Dry and Restart
Ensure the inside of your fridge is completely dry to prevent immediate refrosting. Replace the shelves and bins, plug the fridge back in, and patiently await its return to a chilly state before restocking.
Step 7: Organize and Restock
As you replace items, ponder on the organization. Perhaps this is the perfect time to implement a new system, ensuring items are easily accessible and expiration dates are visible to minimize food waste.
Pro Tip: Prevent Future Frost
Regular Checks: Periodically inspect your fridge for the early stages of frost accumulation and tackle it promptly.
Seal Inspection: Ensure the door seals are in peak condition, keeping the cold air where it belongs—inside!
Balanced Temperature: Maintain an optimal fridge temperature (ideally around 37°F and 0°F for the freezer) to deter frost formation.
By adopting this straightforward method, you effortlessly meld efficiency with safety, ensuring your fridge is frost-free and functioning at its peak. You’ll conserve energy, safeguard the longevity of your appliance, and perhaps discover that forgotten frozen pizza lurking behind the ice!
It’s simple, it’s effective, and it won’t consume your day. Enjoy a frost-free refrigerator and make icy build-ups a thing of the past.
Note to Reader
Save this guide for the next time you’re facing frosty foes in your fridge. With these uncomplicated steps, you’re not just defrosting; you’re granting your appliance a fresh start, reducing energy costs, and ensuring those midnight snacks are always easily accessible.
Disclaimer: This article is created for informational purposes and is not a substitute for professional advice. Always prioritize safety and consult your appliance’s manual or a professional technician for specific guidance related to your model.
This easy guide ensures defrosting your fridge is a task that won’t leave you cold. Use it wisely, share it with frost-frustrated friends, and here’s to seamless, swift defrosting adventures in your future!


